Video Merger
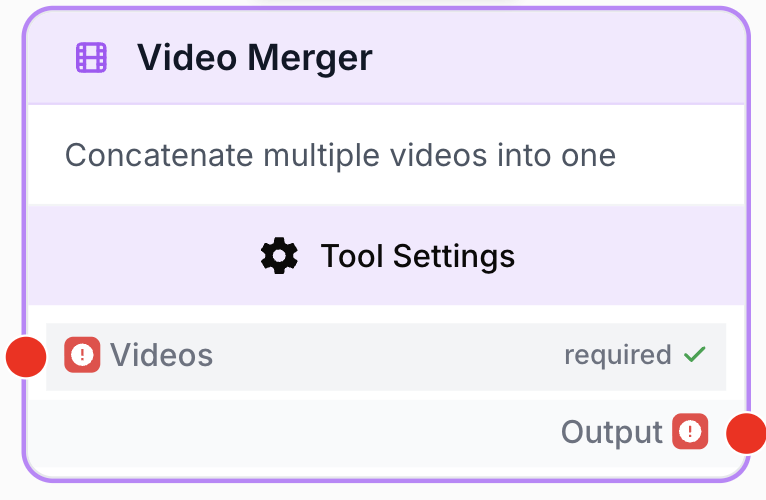
The Video Merger node concatenates multiple videos into a single output video, with support for custom ordering, resolution control, and audio management.
What does the Video Merger node do?
The Video Merger node takes multiple video files and concatenates them into a single video. It handles differences in codec, resolution, frame rate, and aspect ratio automatically, so you can combine videos from different sources seamlessly.
Common use cases:
- Combining intro, main content, and outro clips into a single video
- Merging multiple AI-generated video segments (e.g., from Image to Video nodes) into one continuous video
- Assembling a compilation from videos stored in a Static Video node or Google Drive
- Creating video slideshows from a sequence of short clips processed through a Loop
Quick setup
Add the node to the canvas
Open the Node Library, go to Tools > Video Processing, then drag and drop the Video Merger node onto your workspace.
Choose your input mode
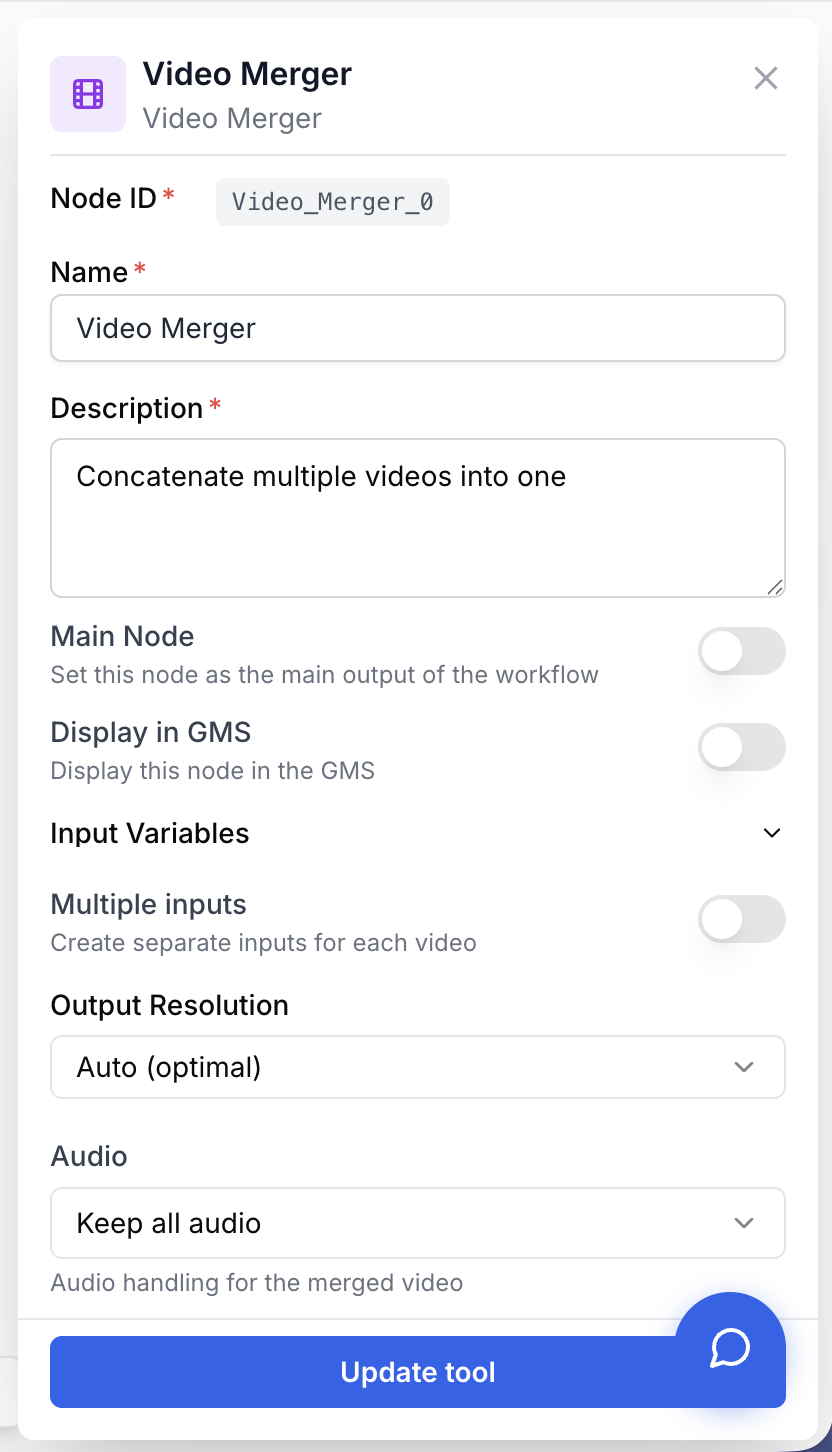
Open the node settings. By default, the node accepts a single input (an array of video URLs). Enable Multiple Inputs to create 2–10 separate input handles, useful when combining videos from different nodes.
Connect your videos
Single input mode: Connect one node that outputs an array of video URLs (e.g., Static Video, or a Loop output).
Multi-input mode: Connect each upstream video source to its own input handle (video_1, video_2, etc.). Use the drag & drop interface in the settings to reorder the clips.
Configure output settings
Choose the output resolution (Auto detects from source videos, or pick a specific resolution). Select whether to keep or mute the audio track.
Connect the output
Connect the output to the next node. The merged video is available as a JSON object with the video URL, MIME type, and metadata.
Configuration parameters
Required fields
Name string required default: Video Merger Node name — A label to identify this node on the canvas.
Description string required default: Concatenate multiple videos into one Node description — A short description of what this merge operation does.
Optional fields
Multiple Inputs boolean default: false Multiple inputs mode — When enabled, creates separate input handles (video_1, video_2, etc.) instead of a single array input. Useful when combining videos from different nodes. You can add between 2 and 10 inputs.
Output Resolution select default: auto Output resolution — The resolution of the merged video. Options:
- Auto — Automatically matches the source videos’ resolution
- 480p — 854×480
- 720p — 1280×720
- 1080p — 1920×1080
- 1440p — 2560×1440
- 2160p — 3840×2160 (4K)
Audio select default: keep Audio — How to handle audio tracks:
- Keep — Preserves the audio from all input videos
- Mute — Removes all audio from the output video
In multi-input mode, use the drag & drop interface in the settings to reorder your video clips. The order in the list determines the order in the final merged video.
What does the node output?
The node outputs a JSON array containing the merged video information:
[
  {
    "video": "merged_output.mp4",
    "mimeType": "video/mp4",
    "video_count": 3,
    "resolution": "1080p"
  }
]
video string The filename of the merged video.
mimeType string The MIME type of the output video (typically video/mp4).
video_count number The number of videos that were merged.
resolution string The resolution of the output video.
Usage examples
Example 1: Merge intro + content + outro
You have three separate video clips and want to combine them into a final video.
Configuration:
- Multiple Inputs: Enabled, 3 inputs
- Video order: video_1 (Intro), video_2 (Content), video_3 (Outro)
- Output Resolution: 1080p
- Audio: Keep
Connect each clip to its respective input handle and reorder them using drag & drop if needed.
Example 2: Combine AI-generated video segments
You generate multiple short video clips from images using the Image to Video node inside a Loop, then merge them all.
Workflow:
- Static Image — Upload source images
- Loop — Iterate over each image
- Image to Video — Generate a video clip per image
- Video Merger — Combine all clips into one video (single input mode, receives the array from the Loop)
Configuration:
- Multiple Inputs: Disabled (single array input)
- Output Resolution: Auto
- Audio: Mute
Example 3: Create a compilation from Google Drive videos
Pull videos from Google Drive and merge them into a compilation.
Workflow:
- Google Drive Reader — Fetch video files
- Video Merger — Concatenate them in order
Best practices
Use “Auto” resolution unless you need a specific output size. Auto resolution avoids unnecessary re-encoding and produces faster results.
Use multi-input mode when you need precise control over the order of clips from different sources. Use single-input mode when merging a dynamic list of videos (e.g., from a Loop).
Keep video count reasonable. Merging many large videos takes time. The node has an auto-timeout for very long operations. If you hit timeouts, try reducing the number of videos or lowering the resolution.
Different formats are normalized automatically, but this adds processing time. For fastest results, use videos with the same codec, resolution, frame rate, and aspect ratio.
Common issues
The merge takes a very long time or times out
Cause: Too many videos, very high resolution, or mixed formats requiring heavy re-encoding.
Solution: Reduce the number of videos, lower the output resolution, or ensure input videos share the same format. The node normalizes codec, FPS, and aspect ratio automatically, but this adds processing time.
The output video has no audio
Cause: The Audio setting is set to “Mute”, or the source videos don’t have audio tracks.
Solution: Check the Audio setting and make sure it’s set to “Keep”. If source videos are silent, the output will also be silent regardless of this setting.
Videos are in the wrong order
Cause: In multi-input mode, the default order may not match your intended sequence.
Solution: Open the node settings and use the drag & drop interface to reorder the video clips. The list order directly controls the output order.
The node rejects my input connection
Cause: The connected node doesn’t output video content (e.g., it outputs text or images).
Solution: Make sure the upstream node produces video output. The Video Merger accepts video from: Static Video, File input (with video files), Google Drive Reader (filtered to videos), Image to Video, and other video-producing nodes.
How does it fit into a workflow?
Video Merger is typically used at the end of a video production pipeline:
graph LR
    Source1[Video Source 1] --> Merger[Video Merger]
    Source2[Video Source 2] --> Merger
    Source3[Video Source 3] --> Merger
    Merger --> Output[Final Video]
Or after a Loop that generates multiple clips:
graph LR
    Images[Source Images] --> Loop[Loop]
    Loop --> I2V[Image to Video]
    I2V --> Merger[Video Merger]
Related nodes
Provide fixed video files as input to the Video Merger.
Generate video clips from images, then merge them together.
Generate multiple video clips in a loop before merging them.
Extract frames from the merged video for thumbnails or further processing.