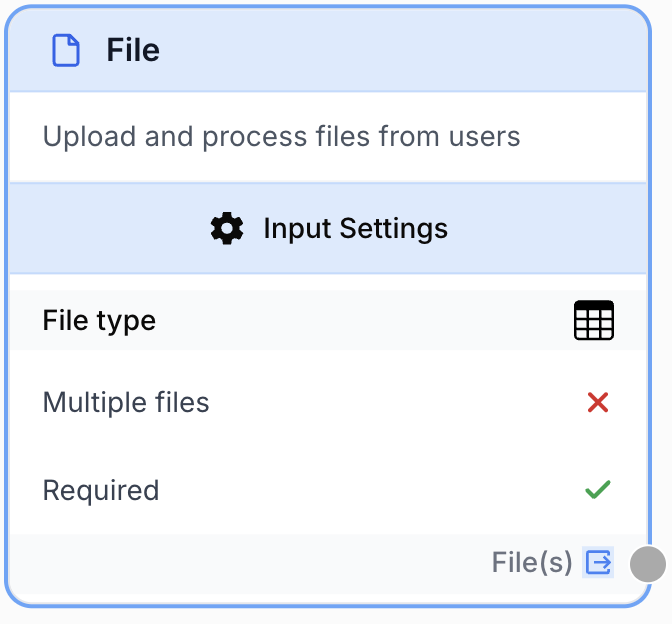
File
The File input node lets users upload one or multiple files to launch the workflow, supporting documents, images, audio, and video.
What does the File node do?
The File node is an input node that creates a file upload field at the start of your workflow. When a user runs the workflow, they are prompted to upload one or more files matching the type you configured (documents, images, audio, or video). The uploaded files are then injected into downstream nodes for processing.
Common use cases:
- Letting users upload a PDF, DOCX, or TXT to summarize, translate, or extract data with an LLM.
- Receiving a CSV or XLSX spreadsheet to enrich each row through a batch workflow.
- Accepting an image or video for analysis, frame extraction, or AI vision processing.
Quick setup
Follow these steps to add and configure the File node in your workflow:
Add the node to the canvas
Open the Node Library, go to Inputs, then drag and drop the File node onto your workspace. The File node is always placed at the start of the workflow.
Choose the file type
Open the node settings and select the File type that matches what your users will upload (Audio, Image, Structured Document, Unstructured Document, or Video). Only files matching the selected type can be uploaded at runtime.
Configure single or multiple uploads
Toggle Multiple files if your workflow should accept several files in one run. The output then becomes an array of files instead of a single file.
Connect the output
Connect the output port (on the right of the node) to the next node that should consume the file (LLM, batch, file converter, etc.). Name the receiving variable in that next node to use the uploaded file(s).
Configuration parameters
Configuring the node consists of telling the runtime which kind of file is expected and whether one or several files can be uploaded.
Required fields
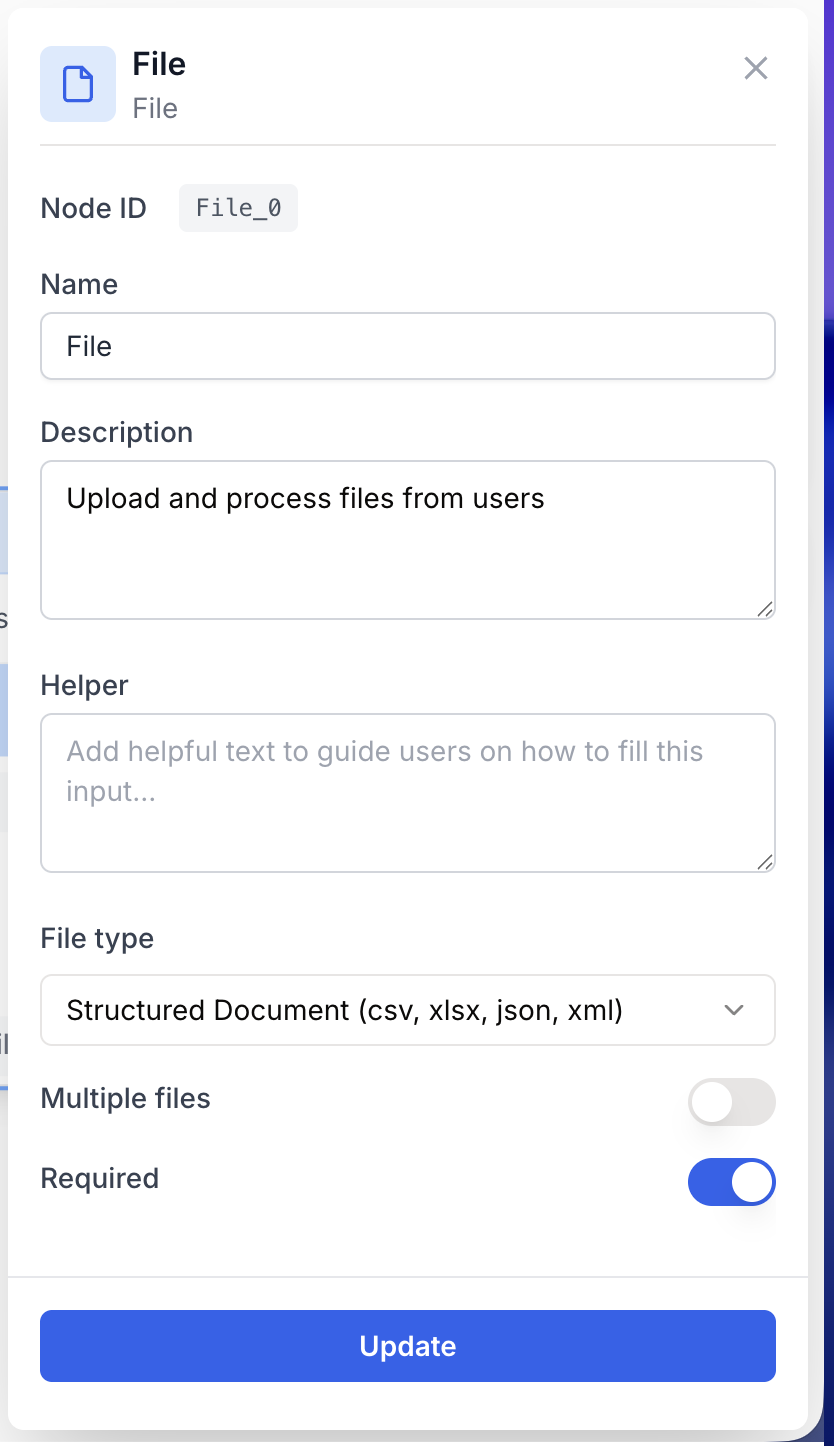
Name string required default: File Node name — Important for identifying the role of this input (e.g. Source PDF, Cover image) when running and debugging the workflow.
Description string required default: A input to receive file(s) to launch the workflow Node description — A short phrase describing what the user is expected to upload.
File type enum required default: Structured Document (csv, xlsx, json, xml) Accepted file type — Restricts the file picker at runtime. Available values:
Audio (mp3, ma4, wav)Image (jpg, jpeg, png, gif, webp, svg)Structured Document (csv, xlsx, json, xml)Unstructured Document (pdf, txt, md, docx, pptx)Video (mp4, mov, mpeg, mpga)
Optional fields
Multiple files boolean default: false Multiple files — When enabled, the user can upload several files in a single run, and the node outputs an array. When disabled, exactly one file is expected.
Required boolean default: true Required — When enabled, the user must upload a file before launching the workflow. Disable to make the input optional.
The selected File type also drives the semantic output type. Picking Image or Video lets downstream nodes (Extract Video Frame, image tools, etc.) validate the connection and surface clearer errors when types do not match.
What does the node output?
The node outputs the uploaded File(s) as an array. Each file is a structured object containing the binary content and metadata, ready to be consumed by any node that accepts a file, image, or video input.
How to use the output
In Draft & Goal, you do not need to look up a system-generated variable name. To use the result:
- Draw a connection from the File node output.
- Connect it to the input of the next node.
- In that next node, create and name your own variable (for example,
source_file). The uploaded file(s) will be injected into it automatically.
File(s) array An array containing the uploaded file(s). Even when Multiple files is disabled, downstream nodes receive the file through the same output port.
Usage examples
Example 1: Summarize a user-uploaded PDF
You want users to upload a contract or report and get an LLM-generated summary.
Configuration:
File type=Unstructured Document (pdf, txt, md, docx, pptx)Multiple files=falseRequired=true
Workflow pattern: the File node feeds an LLM node configured to read the document and produce a structured summary.
Example 2: Batch enrichment from a CSV
You want users to drop a CSV of leads, and run an enrichment workflow on each row.
Configuration:
File type=Structured Document (csv, xlsx, json, xml)Multiple files=falseRequired=true
The downstream batch node iterates over each row of the spreadsheet and runs the enrichment branch for every entry.
Common issues
The user cannot select their file in the upload dialog
Cause: The selected File type does not match the extension of the file they are trying to upload (for example, a PDF when Image is selected).
Solution: Open the node settings and switch File type to the category matching your users’ files, or split the workflow into several File nodes if you need to accept different categories.
The downstream node says it expects a single file but receives an array
Cause: Multiple files is enabled, so the output is always an array, even with a single upload.
Solution: Either disable Multiple files if only one file is ever needed, or place a batch / loop node between the File node and the downstream node to process each file individually.
Best practices and pitfalls
Give the File node a meaningful Name (e.g. Source CSV or Cover Image) — that label is shown to the end user as the upload field title at runtime, so it doubles as user-facing copy.
Match the File type to downstream nodes. Selecting Unstructured Document and connecting it to a node that expects an image will fail at runtime. Choose the most specific type (Image, Video) whenever the downstream pipeline needs it for type validation.
How does it fit into a workflow?
The File node always sits at the very start of a workflow, exposing an upload field to the user and feeding the binary content into the rest of the pipeline. Here is a typical integration pattern for processing a user-uploaded document:
graph LR
    File[File input
<br/>PDF upload] --> LLM[LLM extracts content]
    LLM --> FR[Find and Replace
<br/>cleans output]
    FR --> Output[Final result]
Related nodes
Send the uploaded document directly to an LLM to summarize, classify, or extract structured data from it.
A specialized alternative when files live in Google Drive instead of being uploaded by the user.
Pair with a File node configured as Video to extract frames for downstream image analysis.
Clean text extracted from an uploaded document before feeding it into the next stage.