Extract Video Frame
The Extract Video Frame node extracts a single frame from a video as an image, with options for frame selection, output format, and resizing.
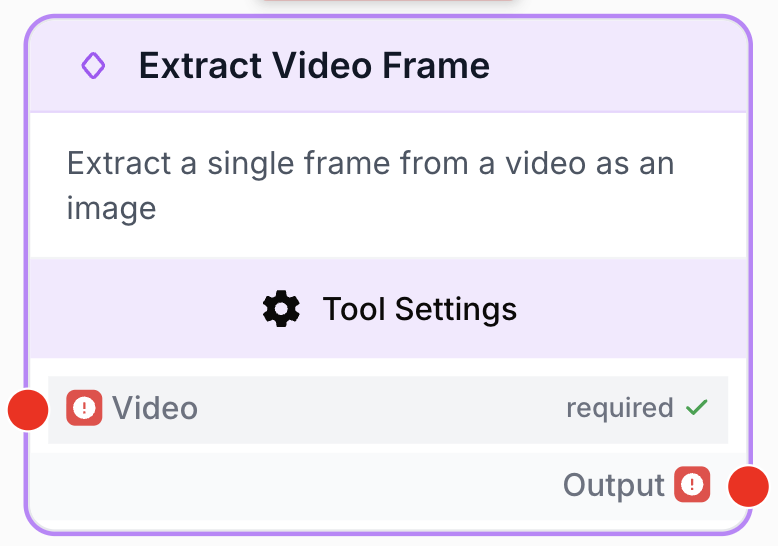
What does the Extract Video Frame node do?
The Extract Video Frame node takes a video and extracts a single frame as an image. You can choose which frame to extract — the first, the last, at a specific timestamp, or at a percentage of the video duration.
Common use cases:
- Generating thumbnails from videos for content previews or social media posts
- Extracting a specific frame from a product demo video for use in documentation
- Capturing a key moment from an AI-generated video for further image processing (Image to Image, Image to Text)
- Creating cover images from video content stored in Google Drive or Static Video nodes
Quick setup
Add the node to the canvas
Open the Node Library, go to Tools > Video Processing, then drag and drop the Extract Video Frame node onto your workspace.
Connect a video source
Connect a single video source to the input. The node accepts video from Static Video, File input, Google Drive Reader, Image to Video, Video Merger, and other video-producing nodes. Note: only one video at a time — arrays of videos are not accepted.
Choose the frame to extract
Open the settings and select a Frame Mode:
- First — extracts the very first frame
- Last — extracts the very last frame
- Timestamp — extracts the frame at a specific time (enter as HH:MM:SS or use the slider)
- Percentage — extracts the frame at a percentage of the video’s duration
Configure output options
Choose the output format (PNG, JPEG, or WebP) and optionally resize the image.
Connect the output
Connect the output to the next node. The extracted image is available as a JSON object with the image URL, format, and resolution metadata.
Configuration parameters
Required fields
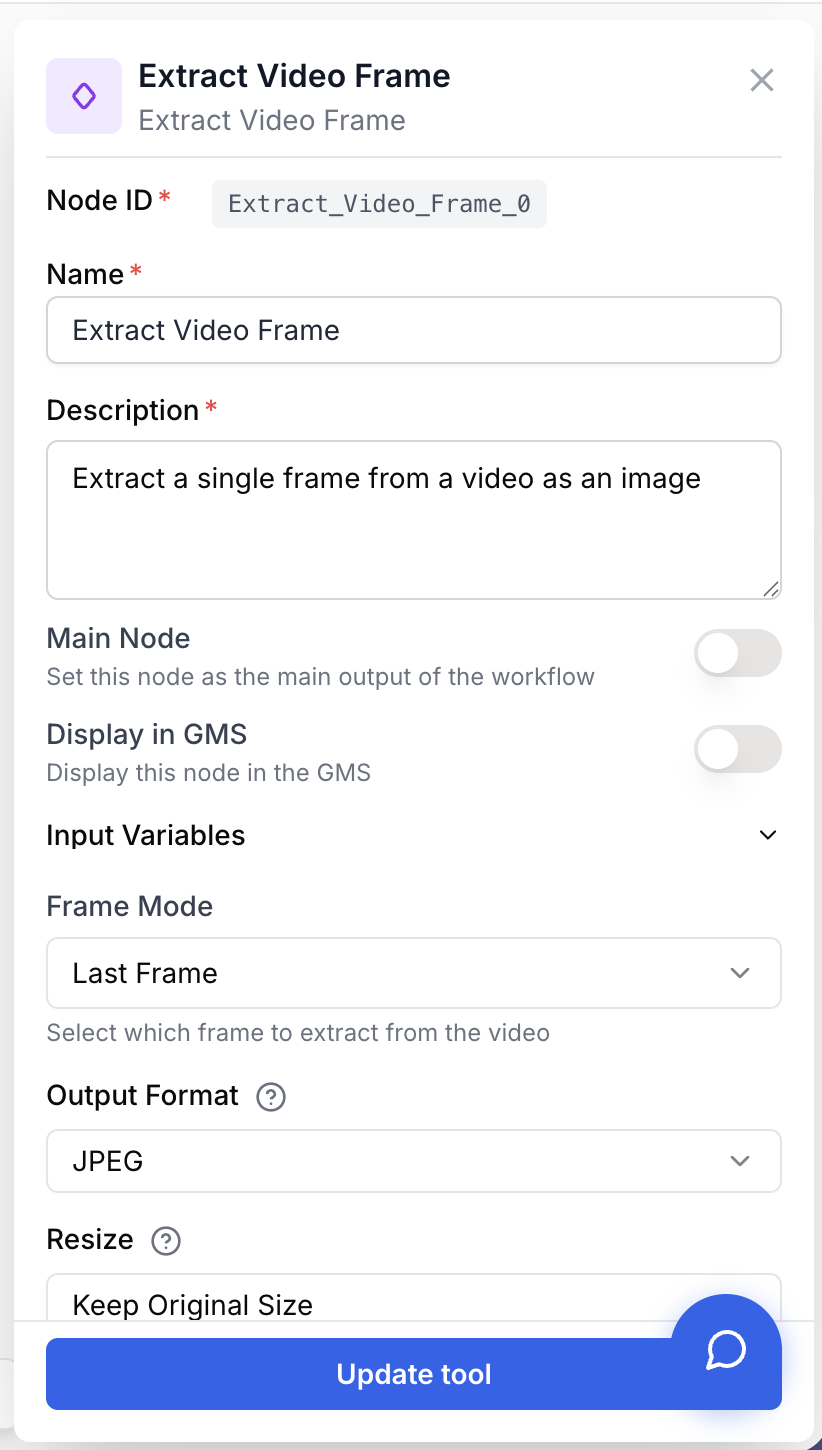
Name string required default: Extract Video Frame Node name — A label to identify this node on the canvas.
Description string required Node description — A short description of what this extraction does.
Frame Mode select required default: last Frame selection mode — How to choose which frame to extract:
- First — The very first frame of the video
- Last — The very last frame of the video
- Timestamp — A frame at a specific time position
- Percentage — A frame at a percentage of the total duration
Conditional fields
Timestamp string Timestamp — The time position to extract (format: HH:MM:SS or seconds). Only shown when Frame Mode is “Timestamp”. When the video duration is detected (e.g., from a Static Video node), a slider is available for easier selection.
Percentage number Percentage — The position as a percentage of the video duration (0–100). Only shown when Frame Mode is “Percentage”. For example, 50 extracts the frame at the midpoint.
Optional fields
Output Format select default: png Output format — The image format for the extracted frame:
- PNG — Lossless, best quality, larger file size
- JPEG — Compressed, smaller file size, good for photos
- WebP — Modern format, good balance of quality and size
Resize Mode select default: none Resize mode — How to resize the extracted frame:
- None — Keep the original video resolution
- Width — Resize to a specific width (aspect ratio preserved)
- Fit — Fit within specific width and height dimensions
Resize Width number Width (px) — Target width in pixels (0–8192). Only shown when Resize Mode is “Width” or “Fit”.
Resize Height number Height (px) — Target height in pixels (0–8192). Only shown when Resize Mode is “Fit”.
Dimensions above 4K (3840x2160) may increase processing time significantly and are rarely needed. A warning is displayed in the settings when large dimensions are set.
What does the node output?
The node outputs a JSON array with a single image object:
[
  {
    "image": "frame_001.png",
    "mimeType": "image/png",
    "frameMode": "timestamp",
    "outputFormat": "png",
    "resolution": "1920x1080",
    "timestamp": "15.2s"
  }
]
image string The filename of the extracted frame image.
mimeType string The MIME type of the output image (e.g., image/png, image/jpeg, image/webp).
frameMode string The frame selection mode that was used (first, last, timestamp, or percentage).
resolution string The resolution of the extracted frame (e.g., 1920x1080).
The output image can also be downloaded directly using the node’s download button.
Usage examples
Example 1: Generate a video thumbnail
You have a product demo video and want to extract a frame at the 3-second mark for use as a thumbnail.
Configuration:
- Frame Mode: Timestamp
- Timestamp: 00:00:03
- Output Format: JPEG
- Resize Mode: Width → 640px
Example 2: Analyze an AI-generated video frame
You generate a video with Image to Video and want to analyze a specific frame with Image to Text.
Workflow:
- Image to Video — Generate a video from an image
- Extract Video Frame — Extract the last frame
- Image to Text — Analyze the extracted frame with AI
Configuration:
- Frame Mode: Last
- Output Format: PNG
- Resize Mode: None
Example 3: Extract frames at different positions in a Loop
You want to create multiple thumbnails from different positions of a single video.
Workflow:
- Static Video — Upload the source video
- Create List — Define percentages: 10, 25, 50, 75, 90
- Loop — Iterate over each percentage
- Extract Video Frame — Extract frame at
{{percentage}}% for each iteration
Best practices
Use “Last” frame mode for AI-generated videos. Videos from Image to Video often have the best visual quality on the last frame, as it represents the final state of the animation.
Use JPEG for thumbnails when file size matters (social media, emails). Use PNG when you need transparency or lossless quality. Use WebP for the best compression-to-quality ratio.
This node processes one video at a time. If you need to extract frames from multiple videos, use a Loop node to iterate over each video individually.
Common issues
The node rejects my input with 'only processes one video at a time'
Cause: The connected node outputs an array of videos (e.g., Static Video with multiple files, or a Loop output).
Solution: Extract Video Frame only accepts a single video. Use a Loop node upstream to iterate over each video, or use a JSON Path Extractor to select one video from the array.
The extracted frame is black or blank
Cause: The timestamp or percentage points to a moment in the video with no visual content (e.g., before the video starts rendering or after a fade-to-black).
Solution: Try a different frame mode or adjust the timestamp/percentage. Use “First” or “Last” mode to verify the video has visual content, then fine-tune the position.
The timestamp slider doesn't appear
Cause: The video duration couldn’t be detected. The slider only appears when the source is a Static Video node with known duration.
Solution: You can still type the timestamp manually in HH:MM:SS format. The slider is a convenience feature, not a requirement.
How does it fit into a workflow?
Extract Video Frame is typically used to convert video content into images for further processing:
graph LR
    Video[Video Source] --> Extract[Extract Video Frame]
    Extract --> Process[Image to Text / Image to Image]
Related nodes
Combine multiple videos before extracting a frame from the merged result.
Generate a video from an image, then extract specific frames from the result.
Analyze an extracted frame with AI to generate text descriptions.
Provide fixed video files as input for frame extraction.