Date
The Date node provides a calendar date picker that captures a user-selected date when the workflow is launched.
What does the Date node do?
The Date node is an input node that asks the user to pick a date when the workflow runs. The selected date becomes a string available to every downstream node, making it the standard way to parameterize a workflow with a date (report period, publication date, filter cutoff, etc.).
Common use cases:
- Picking the day a generated report should cover.
- Choosing a publication or scheduling date for content produced by the workflow.
- Setting a cutoff date used to filter rows from a Google Sheet or a database query.
Quick setup
Follow these steps to add and configure the Date node in your workflow:
Add the node to the canvas
Open the Node Library, go to Inputs, then drag and drop the Date node onto your workspace.
Name the node
The node name (e.g. Report_Date) becomes the variable label users see when they launch the workflow, and it is the prefix used to reference the value downstream ({{Report_Date.output}}).
Configure the default and required state
Optionally set a Default Value so the date picker is pre-filled when the workflow is run. Toggle Required off only if the workflow can run without a date.
Connect the output
Connect the Date output port to any downstream node that needs the date (LLM prompt, Google Sheets reader, database query, etc.).
Configuration parameters

The Date node only has a handful of fields — its purpose is to capture a single date, so configuration stays minimal.
Required fields
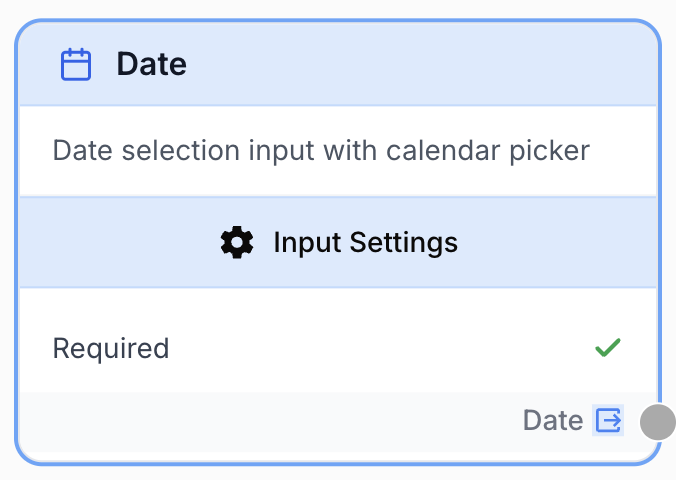
Name string required default: Date Node name — Identifies the input on the workflow run form and acts as the prefix used to reference the value (e.g. Report_Date.output). Use snake_case or PascalCase to keep references readable.
Required boolean required default: true Required — When true, the user cannot launch the workflow without picking a date. Set to false only if downstream nodes can handle a missing value.
Optional fields
Description string Node description — Short help text shown next to the date picker on the run form. Useful to clarify the expected period or timezone (e.g. “Pick the first day of the reporting period”).
Default Value date Default Value — Pre-fills the date picker when the workflow is launched. Leave empty to force the user to make an explicit choice every run.
Give the node a clear, specific name (Start_Date, Publish_Date) rather than the generic Date. The name appears verbatim on the run form and in every {{...}} reference downstream.
What does the node output?
The node outputs a single string named Date containing the date selected by the user.
How to use the output
In Draft & Goal you don’t need to look up a system-generated identifier. To use the value:
- Draw a connection from the Date node’s output port.
- Connect it to the input of the next node.
- In that next node, reference the value as
{{<NodeName>.output}}(for example{{Report_Date.output}}) inside a prompt, a query, or any text field.
Date string The date picked by the user when the workflow was launched, as an ISO-style string (e.g. 2024-01-15).
Usage examples
Example 1: Daily report for a chosen date
Let the user pick the day to report on, then build the report from a Google Sheet.
Configuration:
Name=Report_DateRequired=trueDefault Value= (empty)
Downstream usage (in an LLM prompt):
Summarize the rows in the sheet whose `date` column equals {{Report_Date.output}}.
Highlight the top three campaigns by clicks.
Example 2: Scheduled publication date
Capture a future publication date that flows into a content generator and a scheduler.
Configuration:
Name=Publish_DateRequired=trueDefault Value= (today, set so the run form is never empty)
Downstream usage (in a Google Sheets writer):
Article: {{LLM_Article.output}}
Publish on: {{Publish_Date.output}}
Common issues
The output is empty when I reference the node
Cause: Either the Required field is false and the user submitted the run form without picking a date, or the reference name does not match the node name exactly.
Solution: Set Required to true for mandatory dates, and double-check that {{<NodeName>.output}} uses the exact node name as it appears on the canvas (case sensitive, underscores included).
The downstream node fails to parse the date
Cause: The Date node returns a plain string, not a typed date object. A node expecting a specific date format (e.g. MM/DD/YYYY) may reject the default ISO-style value.
Solution: Insert a Find and Replace or an LLM step between the Date node and the consumer to reformat the string, or configure the consumer to accept the ISO format directly.
Best practices and pitfalls
Combine a Date input with a Select input (e.g. daily / weekly / monthly) when you need both a reference date and a granularity — it’s far cleaner than asking the user to type a free-form period.
Avoid hard-coding a default in the past. A stale default (e.g. last quarter) silently produces outdated reports when users forget to change it. Either leave the default empty so the user must choose, or set it to today.
How does it fit into a workflow?
The Date node is almost always the very first node of the workflow: it captures a parameter from the user, then feeds that parameter into a data-fetching or content-generating chain.
graph LR
    Date[Date: Report_Date] --> Sheet[Google Sheets Reader]
    Sheet --> LLM[LLM summarizes rows]
    LLM --> Output[Email or Doc Writer]
Related nodes
Capture a single-line text input from the user — pair with Date for label + period combinations.
Let the user pick from a fixed list (e.g. granularity, region) alongside the Date input.
Inject the selected date into a prompt with {{<NodeName>.output}}.
Filter rows on the date selected by the user before further processing.