Change Aspect Ratio
The Change Aspect Ratio node changes the aspect ratio of an image with crop or fit modes, preset ratios for social media and e-commerce, and a live preview.
What does the Change Aspect Ratio node do?
The Change Aspect Ratio node takes an image and adapts it to a different aspect ratio. You can either crop the image to fill the target ratio or fit the entire image within the target ratio by adding a background. The node includes preset ratios for social media platforms, e-commerce marketplaces, and standard formats, plus a custom ratio option.
Common use cases:
- Reformatting product images for multiple e-commerce platforms (Amazon, Shopify, eBay) in a single workflow
- Adapting a single image to different social media formats (Instagram square, Pinterest vertical, YouTube landscape)
- Preparing images for ad creatives that require specific aspect ratios (LinkedIn banners, Facebook ads)
- Standardizing image ratios before passing them to an Image to Image or Text to Image node for further AI processing
Quick setup
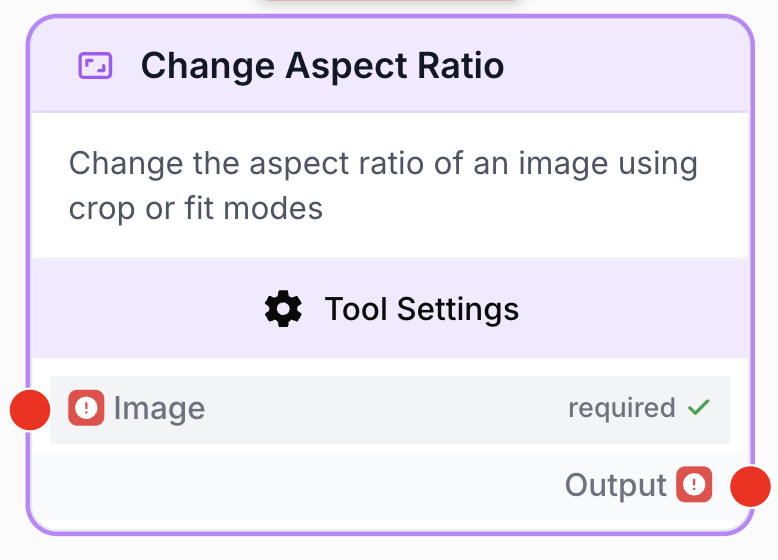
Add the node to the canvas
Open the Node Library, go to Tools > Image Processing, then drag and drop the Change Aspect Ratio node onto your workspace.
Connect an image source
Connect a single image source to the input. The node accepts images from Static Image, File input, Text to Image, Image to Image, and other image-producing nodes. Note: only one image at a time — arrays of images are not accepted.
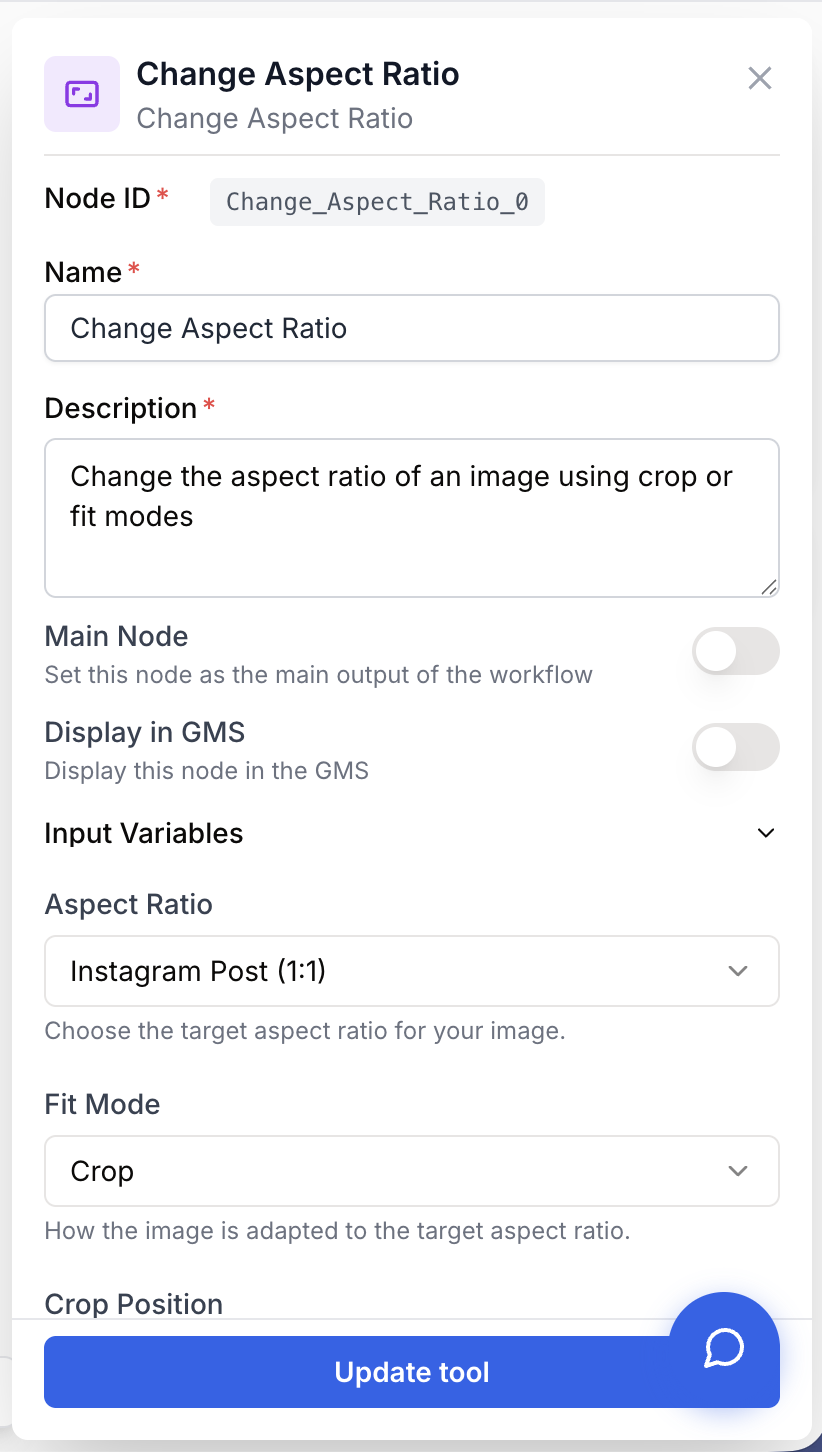
Choose an aspect ratio preset
Open the settings and select an Aspect Ratio Preset. Presets are grouped by category: Social Media, E-commerce, and Standard. Choose “custom” to define your own width and height.
Select a fit mode
Choose how the image should be adapted:
- Crop — Fills the target ratio by cropping edges (choose the crop position)
- Fit — Fits the entire image within the ratio by adding a background (choose background mode and color)
Connect the output
Connect the output to the next node. The result is a JSON object with the image filename, MIME type, aspect ratio label, and fit mode.
Configuration parameters
Required fields
Name string required default: Change Aspect Ratio Node name — A label to identify this node on the canvas.
Description string required Node description — A short description of what this aspect ratio change does.
Aspect Ratio Preset select required Aspect ratio preset — The target aspect ratio, grouped by category:
Social Media:
- Instagram Square — 1:1
- Instagram Story — 9:16
- Facebook Post — 4:5
- YouTube Thumbnail — 16:9
- LinkedIn Banner — 4:1
- Pinterest Pin — 2:3
E-commerce:
- Amazon — Amazon product image ratio
- Shopify Square — Square format for Shopify
- Shopify Landscape — Landscape format for Shopify
- eBay — eBay listing image ratio
Standard:
- 1:1 — Square
- 16:9 — Widescreen landscape
- 9:16 — Vertical / portrait
- 21:9 — Ultra-wide
- 32:9 — Super ultra-wide
- Custom — Define your own width and height
Fit Mode select required Fit mode — How to adapt the image to the target ratio:
- Crop — Crop the image to fill the target ratio. May cut edges depending on the crop position.
- Fit — Fit the entire image within the target ratio. Adds a background to fill the remaining space.
Conditional fields
Custom Width number Custom width (px) — The custom width in pixels (1–7680). Only shown when Aspect Ratio Preset is “Custom”.
Custom Height number Custom height (px) — The custom height in pixels (1–7680). Only shown when Aspect Ratio Preset is “Custom”.
Crop Position select Crop position — Where to anchor the crop. Only shown when Fit Mode is “Crop”:
- Center — Crop equally from all edges (default)
- Top — Keep the top of the image
- Bottom — Keep the bottom of the image
- Left — Keep the left side
- Right — Keep the right side
- Top-left — Keep the top-left corner
- Top-right — Keep the top-right corner
- Bottom-left — Keep the bottom-left corner
- Bottom-right — Keep the bottom-right corner
Background Mode select Background mode — The background fill when fitting the image. Only shown when Fit Mode is “Fit”:
- Black — Solid black background
- White — Solid white background
- Blur — Blurred version of the original image as background
- Custom — A custom color chosen via the color picker
Background Color string Background color — A hex color value for the background (e.g., #FF5733). Only shown when Fit Mode is “Fit” and Background Mode is “Custom”. A color picker with preset swatches is available in the settings panel.
Optional fields
Output Format select default: jpeg Output format — The image format for the output:
- JPEG — Compressed, smaller file size, good for photos
- PNG — Lossless, best quality, larger file size
- WebP — Modern format, good balance of quality and size
When using a “Custom” aspect ratio, odd pixel dimensions (e.g., 1001x501) may cause a warning in the settings panel. Even dimensions are recommended for best compatibility across platforms.
What does the node output?
The node outputs a JSON object with the processed image details:
{
  "image": "aspect_ratio_16_9.jpg",
  "mimeType": "image/jpeg",
  "aspectRatio": "16:9",
  "fitMode": "crop"
}
image string The filename of the processed image.
mimeType string The MIME type of the output image (e.g., image/jpeg, image/png, image/webp).
aspectRatio string The aspect ratio label that was applied (e.g., 16:9, 1:1, 4:5).
fitMode string The fit mode that was used (crop or fit).
The output image can also be downloaded directly using the node’s download button.
Usage examples
Example 1: Prepare product images for multiple platforms
You have a product photo and need to export it in Amazon, Shopify, and eBay formats.
Workflow:
- Static Image — Upload the original product photo
- Change Aspect Ratio (x3) — One node per platform preset
- Google Drive Writer — Save each version to a folder
Configuration (Amazon node):
- Aspect Ratio Preset: Amazon
- Fit Mode: Fit
- Background Mode: White
- Output Format: JPEG
Example 2: Reformat an AI-generated image for Instagram Story
You generate an image with Text to Image (typically 1:1) and want to post it as an Instagram Story (9:16).
Workflow:
- Text to Image — Generate the image
- Change Aspect Ratio — Convert to 9:16
- Image to Text — Optionally analyze the result
Configuration:
- Aspect Ratio Preset: Instagram Story
- Fit Mode: Fit
- Background Mode: Blur
- Output Format: PNG
Example 3: Batch-crop images in a Loop
You have a list of images and need to crop them all to 16:9 for YouTube thumbnails.
Workflow:
- Create List — Define the list of image URLs
- Loop — Iterate over each image
- Change Aspect Ratio — Crop each image to 16:9
- Google Drive Writer — Save results
Configuration:
- Aspect Ratio Preset: YouTube Thumbnail
- Fit Mode: Crop
- Crop Position: Center
- Output Format: JPEG
Best practices
Use “Fit” mode with “Blur” background for social media. This keeps the full image visible while filling the frame with a visually appealing blurred background, avoiding harsh solid-color borders.
Use “Crop” mode with “Center” position for product photos. Most product images have the subject centered, so center-cropping preserves the main content. Adjust the crop position if the subject is off-center.
This node processes one image at a time. If you need to change the aspect ratio of multiple images, use a Loop node to iterate over each image individually.
Common issues
The node rejects my input with 'only processes one image at a time'
Cause: The connected node outputs an array of images (e.g., Static Image with multiple files, or a Loop output).
Solution: Change Aspect Ratio only accepts a single image. Use a Loop node upstream to iterate over each image, or use a JSON Path Extractor to select one image from the array.
The cropped image cuts off the important part
Cause: The crop position does not match where the subject is in the image.
Solution: Change the Crop Position to match the subject’s location. For example, if the subject is at the top of the image, use “Top” or “Top-left”/“Top-right”. Alternatively, switch to “Fit” mode to keep the entire image visible.
The background color does not appear
Cause: You selected a background color but the Fit Mode is set to “Crop” or the Background Mode is not set to “Custom”.
Solution: Make sure Fit Mode is set to “Fit” and Background Mode is set to “Custom”. The background color picker only takes effect in this specific combination.
The live preview does not update
Cause: The preview requires a connected image source. If the input node has not been executed yet, the preview has no image to display.
Solution: Execute the upstream node first so that the image is available, then open the Change Aspect Ratio settings to see the live preview.
How does it fit into a workflow?
Change Aspect Ratio is typically used to reformat images between generation/input and publishing/processing steps:
graph LR
    Source[Image Source] --> Ratio[Change Aspect Ratio]
    Ratio --> Output[Publish / Process]
Related nodes
Apply AI transformations to images after adjusting their aspect ratio.
Generate images that you can then reformat to different aspect ratios.
Provide fixed image files as input for aspect ratio changes.
Use an LLM to decide which aspect ratio to apply based on the target platform.