WordPress Post Create
The WordPress Post Create node creates posts on a WordPress site via the REST API, with control over status, taxonomies, author, and scheduling.

What does the WordPress Post Create node do?
The WordPress Post Create node publishes a new post on a connected WordPress site through the WordPress REST API. It lets you set the title, slug, HTML content, excerpt, author, featured media, categories, tags, sticky flag, publication status and a scheduled date — all directly from your workflow.
Common use cases:
- Auto-publishing AI-generated articles to a blog as drafts ready for review
- Scheduling a queue of posts ahead of time using a
Publish Date - Importing content from a Notion database, Google Sheet or RSS feed straight into WordPress
- Pushing translated versions of an article to a multilingual WordPress site
Quick setup
Connect your WordPress integration
Open the node settings and select your WordPress integration from the dropdown. If you have not connected WordPress yet, go to Settings > Integrations and add a WordPress site (URL, application password user and application password).
Fill in title and content
Provide a Title and Content for the post. Content accepts HTML — paste from an LLM, an HTML to Markdown node, or any text source. Both fields can also be wired to upstream nodes by enabling Use variable for title / content.
Pick a status and refine the metadata
Choose a Status (draft, publish or private), then optionally fill Slug, Excerpt, Author ID, Featured Media ID, Categories, Tags, Sticky and Publish Date. Any field can be externalized to a workflow variable.
Connect the output
Connect the Output port to the next node. The node returns the WordPress REST API response as text, so downstream nodes (JSON Path Extractor, LLM, Sheets) can read the new post id, link or status.
Configuration parameters
Required fields
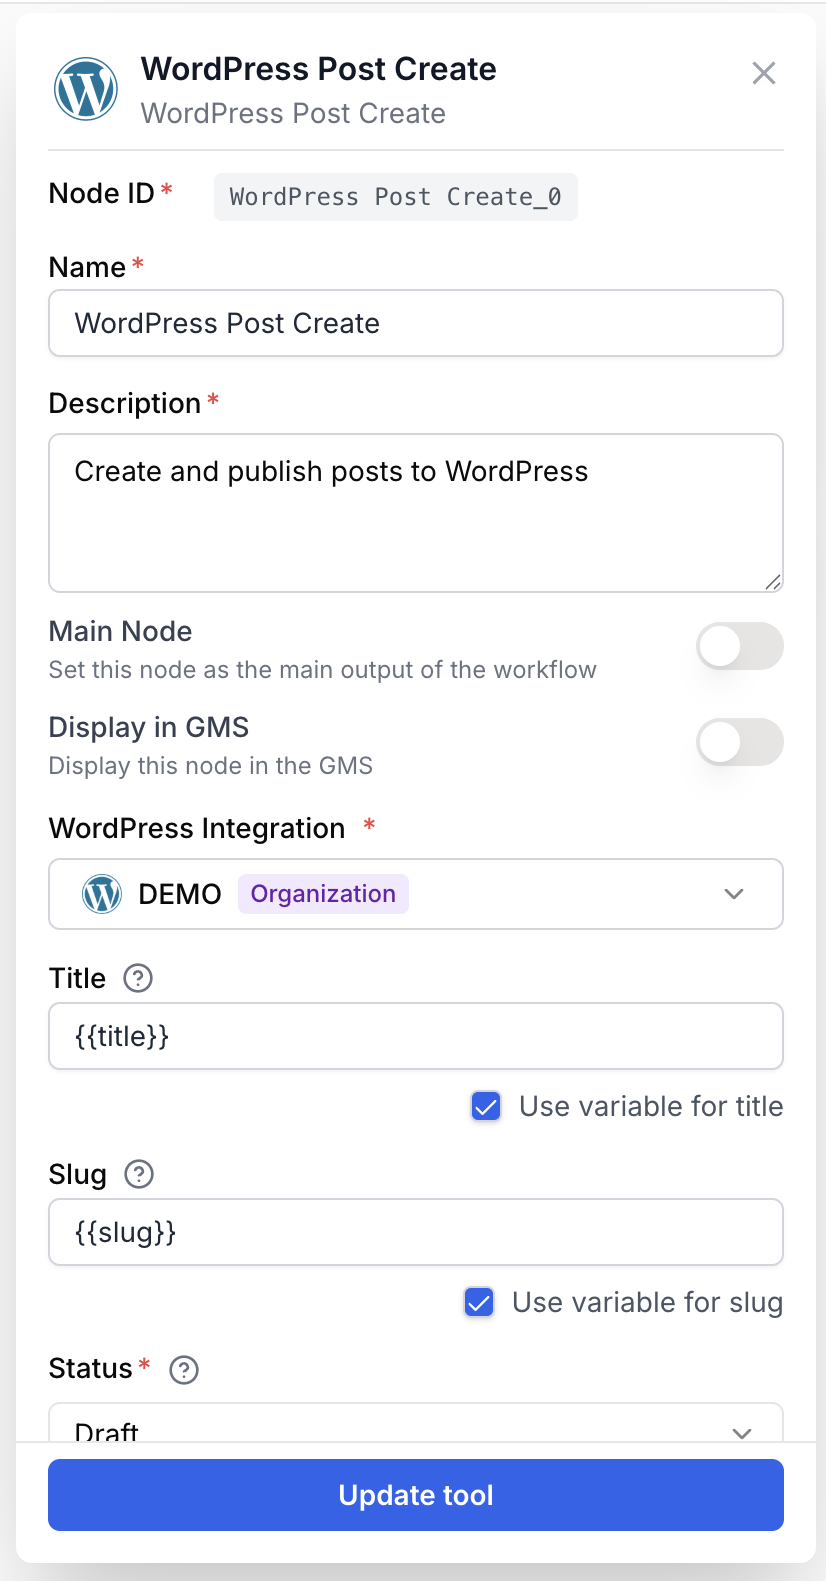
WordPress Integration integration required WordPress integration — The WordPress site connection used to authenticate the request. Configure it in Settings > Integrations with your site URL and an application password.
Title string required Post title — Title of the new post. Enable Use variable for title to bind it to an upstream input (the field is then disabled and receives {{title}}).
Status string required default: draft Publication status — One of:
draft— Save as a draft (not visible to readers)publish— Publish immediatelyprivate— Visible only to logged-in users with the right role
Content string required Post body — Main HTML content of the post. Multi-line text area. Enable Use variable for content to bind it to {{content}} from an upstream node.
Optional fields
Slug string URL slug — Custom slug used in the post URL. Leave empty to let WordPress generate one from the title. Externalizable via Use variable for slug ({{slug}}).
Excerpt string Short summary — Short description shown in archives and feeds. Externalizable via Use variable for excerpt ({{excerpt}}).
Author ID number WordPress user id — Numeric id of the WordPress user to set as the post author. Externalizable via Use variable for author ({{author}}).
Featured Media ID number Featured image id — Numeric id of the media attachment to use as the featured image. Externalizable via Use variable for featured media ({{featuredMedia}}).
Sticky boolean default: false Sticky post — When enabled, the post is pinned to the top of post lists on the WordPress site.
Categories (IDs) string Category ids — Comma-separated list of WordPress category ids (for example 1,2,3). Externalizable via Use variable for categories ({{categories}}).
Tags (IDs) string Tag ids — Comma-separated list of WordPress tag ids (for example 4,5,6). Externalizable via Use variable for tags ({{tags}}).
Publish Date string Scheduled date — ISO 8601 date used to schedule the post (for example 2025-09-12T10:00:00). Combine with status: publish to schedule a future publication. Externalizable via Use variable for date ({{date}}).
Every text-like field exposes a Use variable for … checkbox. Toggle it to receive the value from an upstream node at runtime instead of hard-coding it in the settings panel.
What does the node output?
The node outputs a string containing the JSON response returned by the WordPress REST API for the newly created post. Downstream nodes can parse it with a JSON Path Extractor or an LLM.
{
  "id": 456,
  "date": "2025-09-12T10:00:00",
  "slug": "how-to-optimize-your-seo-in-2025",
  "status": "publish",
  "type": "post",
  "link": "https://yoursite.com/how-to-optimize-your-seo-in-2025",
  "title": { "rendered": "How to optimize your SEO in 2025" },
  "author": 2,
  "featured_media": 128,
  "sticky": false,
  "categories": [1, 2],
  "tags": [4, 5]
}
output string Stringified JSON of the WordPress REST API POST /wp/v2/posts response. Contains at least id, link, status and slug of the created post.
Usage examples
Example 1: Publish AI-generated articles as drafts
You generate a blog post with an LLM and want it saved as a WordPress draft for human review.
Configuration:
- WordPress Integration: your blog
- Title:
{{article_title}}(Use variable for title) - Content:
{{article_html}}(Use variable for content) - Status:
draft - Categories (IDs):
12(yourAIcategory)
The editor opens WordPress and finds a fully formatted draft ready to be polished and published.
Example 2: Schedule a content calendar from a Sheet
A Google Sheet lists titles, slugs and HTML bodies with a publish_at column. You loop over the rows and schedule each one.
Configuration:
- Title:
{{title}} - Slug:
{{slug}} - Content:
{{html}} - Status:
publish - Publish Date:
{{publish_at}}(Use variable for date)
WordPress queues each post for the date set in the Sheet — no manual scheduling needed.
Example 3: Cross-post with author attribution
You import contributor articles from Notion. Each row has an author_wp_id and a featured image id.
Configuration:
- Author ID:
{{author_wp_id}}(Use variable for author) - Featured Media ID:
{{cover_id}}(Use variable for featured media) - Status:
publish - Sticky: enabled for editorial picks
The published post is correctly attributed and pinned to the homepage.
Best practices
Start with draft while you iterate. Switch to publish only once your prompt and formatting steps are stable, otherwise you risk pushing broken HTML to your live site.
Clean LLM output before publishing. Run a Find and Replace or HTML Cleaner node to strip Markdown fences (```html`) or stray tags before sending the content to WordPress.
Use an application password, not your admin password. WordPress application passwords (User profile > Application Passwords) can be revoked individually and never expose your main credentials.
Categories and tags must already exist. The node accepts ids only, not names. Create the taxonomies on WordPress first or use a separate node to create them upstream.
Common issues
The node fails with 401 Unauthorized
Cause: The WordPress integration credentials are wrong or the application password was revoked.
Solution: Go to Settings > Integrations, edit the WordPress integration and paste a new application password generated in Users > Profile > Application Passwords on the target site.
The post is created but the featured image is missing
Cause: The Featured Media ID points to an attachment that does not exist on this WordPress site, or the media is not yet uploaded.
Solution: Upload the image first (via the Media library or an upstream upload node), copy its id from wp-admin > Media > Attachment details and use that id.
My category or tag ids are ignored
Cause: The Categories (IDs) or Tags (IDs) field contains names instead of numeric ids, or the ids do not exist on the site.
Solution: In WordPress, open Posts > Categories (or Tags), hover over an entry and read the tag_ID= value in the URL. Use those numeric ids, comma-separated.
Scheduled posts publish immediately
Cause: The Publish Date is in the past or is not in ISO 8601 format.
Solution: Use a future date in YYYY-MM-DDTHH:MM:SS format and keep Status set to publish. WordPress automatically switches the post to future when the date is ahead of now.
HTML tags appear as raw text on the site
Cause: The content was double-escaped before being sent (for example, an LLM wrapped it in a code fence).
Solution: Add a Find and Replace or HTML Cleaner node before WordPress Post Create to strip wrapper fences and decode any escaped entities.
How does it fit into a workflow?
The WordPress Post Create node usually sits at the end of a content pipeline, after the text has been generated, cleaned and enriched.
graph LR
    Brief[Notion Database Reader] --> LLM[LLM generates article]
    LLM --> Clean[Find and Replace]
    Clean --> WP[WordPress Post Create]
    WP --> Log[Google Sheets log]
Related nodes
Generate the article body, title and excerpt before sending them to WordPress.
Clean Markdown fences or stray characters from the LLM output before publishing.
Strip unsafe or unwanted HTML tags before pushing the content to your CMS.
Iterate over a list of articles and create one WordPress post per item.